La plateforme
de paiement
Made In France
Que vous ayez un site e-commerce ou que vous souhaitiez simplement recevoir des paiements à distance, la plateforme de paiement PayZen est idéale pour votre activité. Notre service est compatible avec toutes les banques françaises dans le respect des derniers protocoles bancaires et du 3DS2.
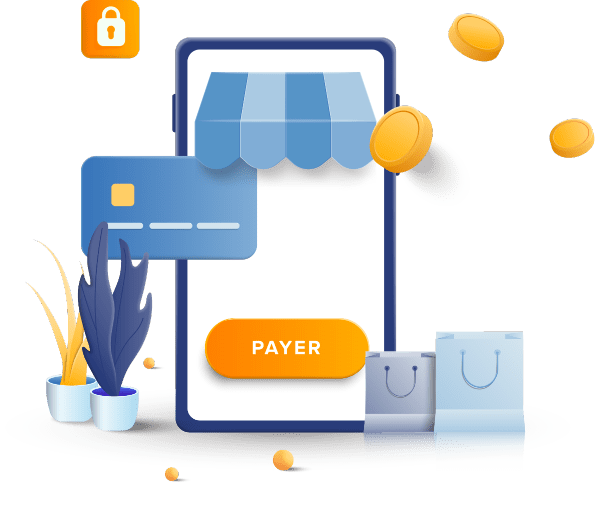
Offrez un large choix de moyens de paiement
En proposant les moyens de paiement préférés de vos clients, vous vous assurez de limiter les abandons de panier. Un atout de taille pour fidéliser et offrir une meilleure expérience d’achat en ligne. Choisissez parmi plus de
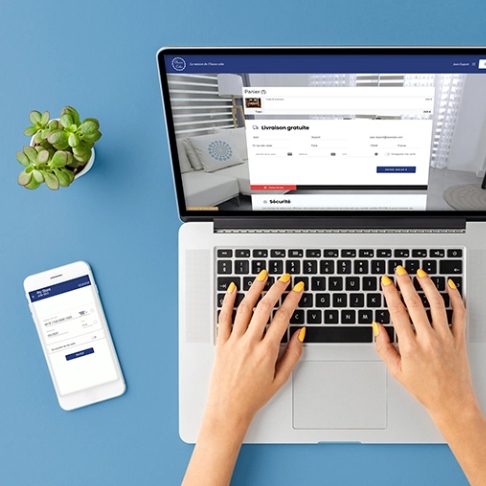
Un parcours fluide et 100% digital
La richesse de la solution PayZen vous apporte une grande flexibilité pour :
- Adapter le parcours à votre stratégie : mobile, embarqué sur votre site, par redirection…
- Associer des modes de paiement : one click, abonnement, paiement en plusieurs fois, pré-autorisation, conversion dynamique de devises…
- Personnaliser à vos couleurs la page de paiement
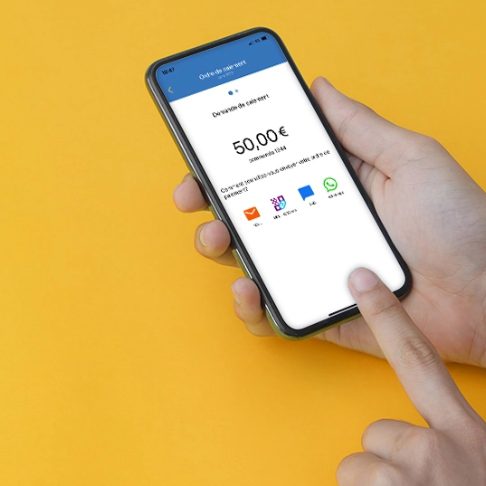
Vendez aussi sur d’autres canaux
Avec ou sans site e-commerce, notre solution permet aussi d’encaisser à distance via différents canaux complémentaires tels que :
- Mail, SMS, WhatsApp, Instagram, Facebook… : Envoi d’un lien à votre client qui redirige vers une page de paiement sécurisée via le back office, webservice et/ou notre application mobile.
- Terminal virtuel : Paiement manuel lors de règlement par téléphone.
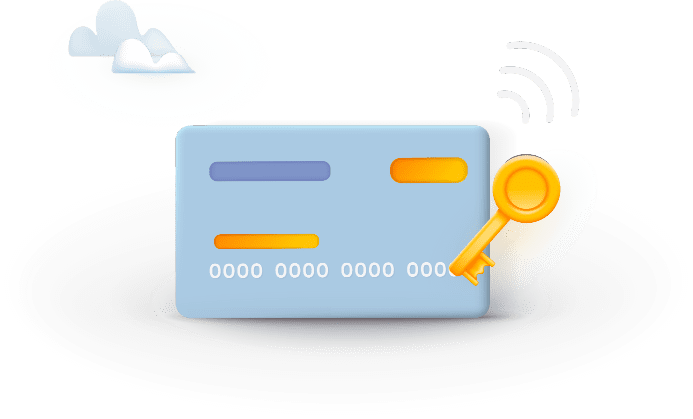
Une sécurité optimale pour tous
PayZen garantit une protection pour vous et vos clients grâce à son environnement hautement sécurisé PCI DSS et des outils de lutte contre la fraude. Le parcours de paiement, conforme au protocole 3DS2, est conçu pour maximiser votre taux de conversion.
Une solution facile à mettre en place

Activation en moins de 48h
À la réception des éléments de souscription et de votre contrat VADS, votre solution PayZen est active dans les 2 jours.

Ressources gratuites en ligne
Guides d’utilisation, modules de paiement gratuits, vidéos tutorielles, exemples de codes…
Tout est sur notre site !

Support basé en France
Des experts à votre service, joignables par mail ou téléphone, pour répondre à toutes vos questions.
Intégration en un tour de main
Pour votre site e-commerce développé sur des CMS du marché, bénéficiez de modules de paiement gratuits simples à installer et à paramétrer. Pour des besoins d’intégrations plus poussées, nous vous conseillons nos webservices.
Module Shopify disponible uniquement via notre solution Lyra Collect.
Et si vous aviez déjà PayZen dans votre logiciel métier ?
Lyra dispose d’un grand réseau de partenaires (éditeurs et agences web) dont PayZen bénéficie. Il est donc possible que notre solution soit déjà intégrée et ne nécessite qu’un simple paramétrage.


Vous êtes une collectivité ?
Notre solution est faite pour vous !

Le groupe Lyra
Partenaire de confiance pour vos paiements !
Expert du paiement en France et à l’international, Lyra est reconnu dans le monde entier pour la qualité de ses services, leurs performances et sa proximité (

[keyfigures:global:experience] ans
d’expertise dans le paiement

[keyfigures:global:payments] Milliards
de paiements traités par an

[keyfigures:global:websites]
sites web connectés
Les actualités Lyra
Lyra pulse 2025 – Tourisme & Retail
Le 1er juillet dernier s’est tenue notre 2ème édition du Lyra Pulse, organisé en partenariat avec Discover Global Network. Un
Tourisme connecté : Les grandes opportunités vues par Vivaticket et Lyra
L’évolution du tourisme international en France Depuis 1990, la France est la première destination touristique mondiale. En 35 ans, l’écosystème